
As usual when New Year approaches I'm looking back at the year's progress on my model of Nystrup Gravel. 2024 has been a year of steady progress. One of those periods of stability and consolidation that any business needs now and then. As I'm celebrating New Year in Berlin I haven't done much modelling since Christmas. But let's face it: There are other things to life than railway modelling. This review of the year will illustrate that.
 |
| A reminder of warmer times: A summer image from Nystrup Gravel with skips resting next to the track leading to the lorry loading ramp. |
The year began with the major milestone of getting the Fowler diesel locomotive fitted with a Loco Remote control system and suddenly the number of locos in service on my little layout doubled. The Fowler also received some exterior detailing work and a little paint during 2024 but will still need further detailing to the cab interior. In May a driver for the Fowler was also bought from my usual supplier of detailed 3D printed figures Modelu in United Kingdom. During Christmas the figure was adapted to its position in the cab and painted.
 |
| Fitted with Loco Remote, lowered buffers, added exterior details and some spot painting. Interior detailing and working lights still to be fitted. |
For a gravel line to have timber bogie bolsters were quite unusual. That Nystrup Gravel had two sets should not come as a surprise, though. Four logging bogies in 3D print arrived from United Kingdom in almost ready to run condition. Of course I had to add details and make subtle changes to the models before they were accepted for service. A great project that I enjoyed a lot!
 |
| The Lister shunting a pair of logging bogies (no. 72 and 79) to the delight of the visiting railway enthusiast in the background. |
I sometimes need a break from serious modelling and with Spring approaching I decided to have fun with a car project. Not something that fits Nystrup Gravel, but I needed a car to go with the two sci-fi drones I made in 2022. After a short but enjoyable proces I had a Lada Niva i Ukrainian pixel camouflage as a 'mothership' for the drones. Other than the Niva I almost managed a year without adding road vehicles to my collection. One item is currently on its way to Denmark - hopefully arriving before too long.
 |
| The pixel camouflaged Lada Niva parked across the tracks with a drone airborne in the background. |
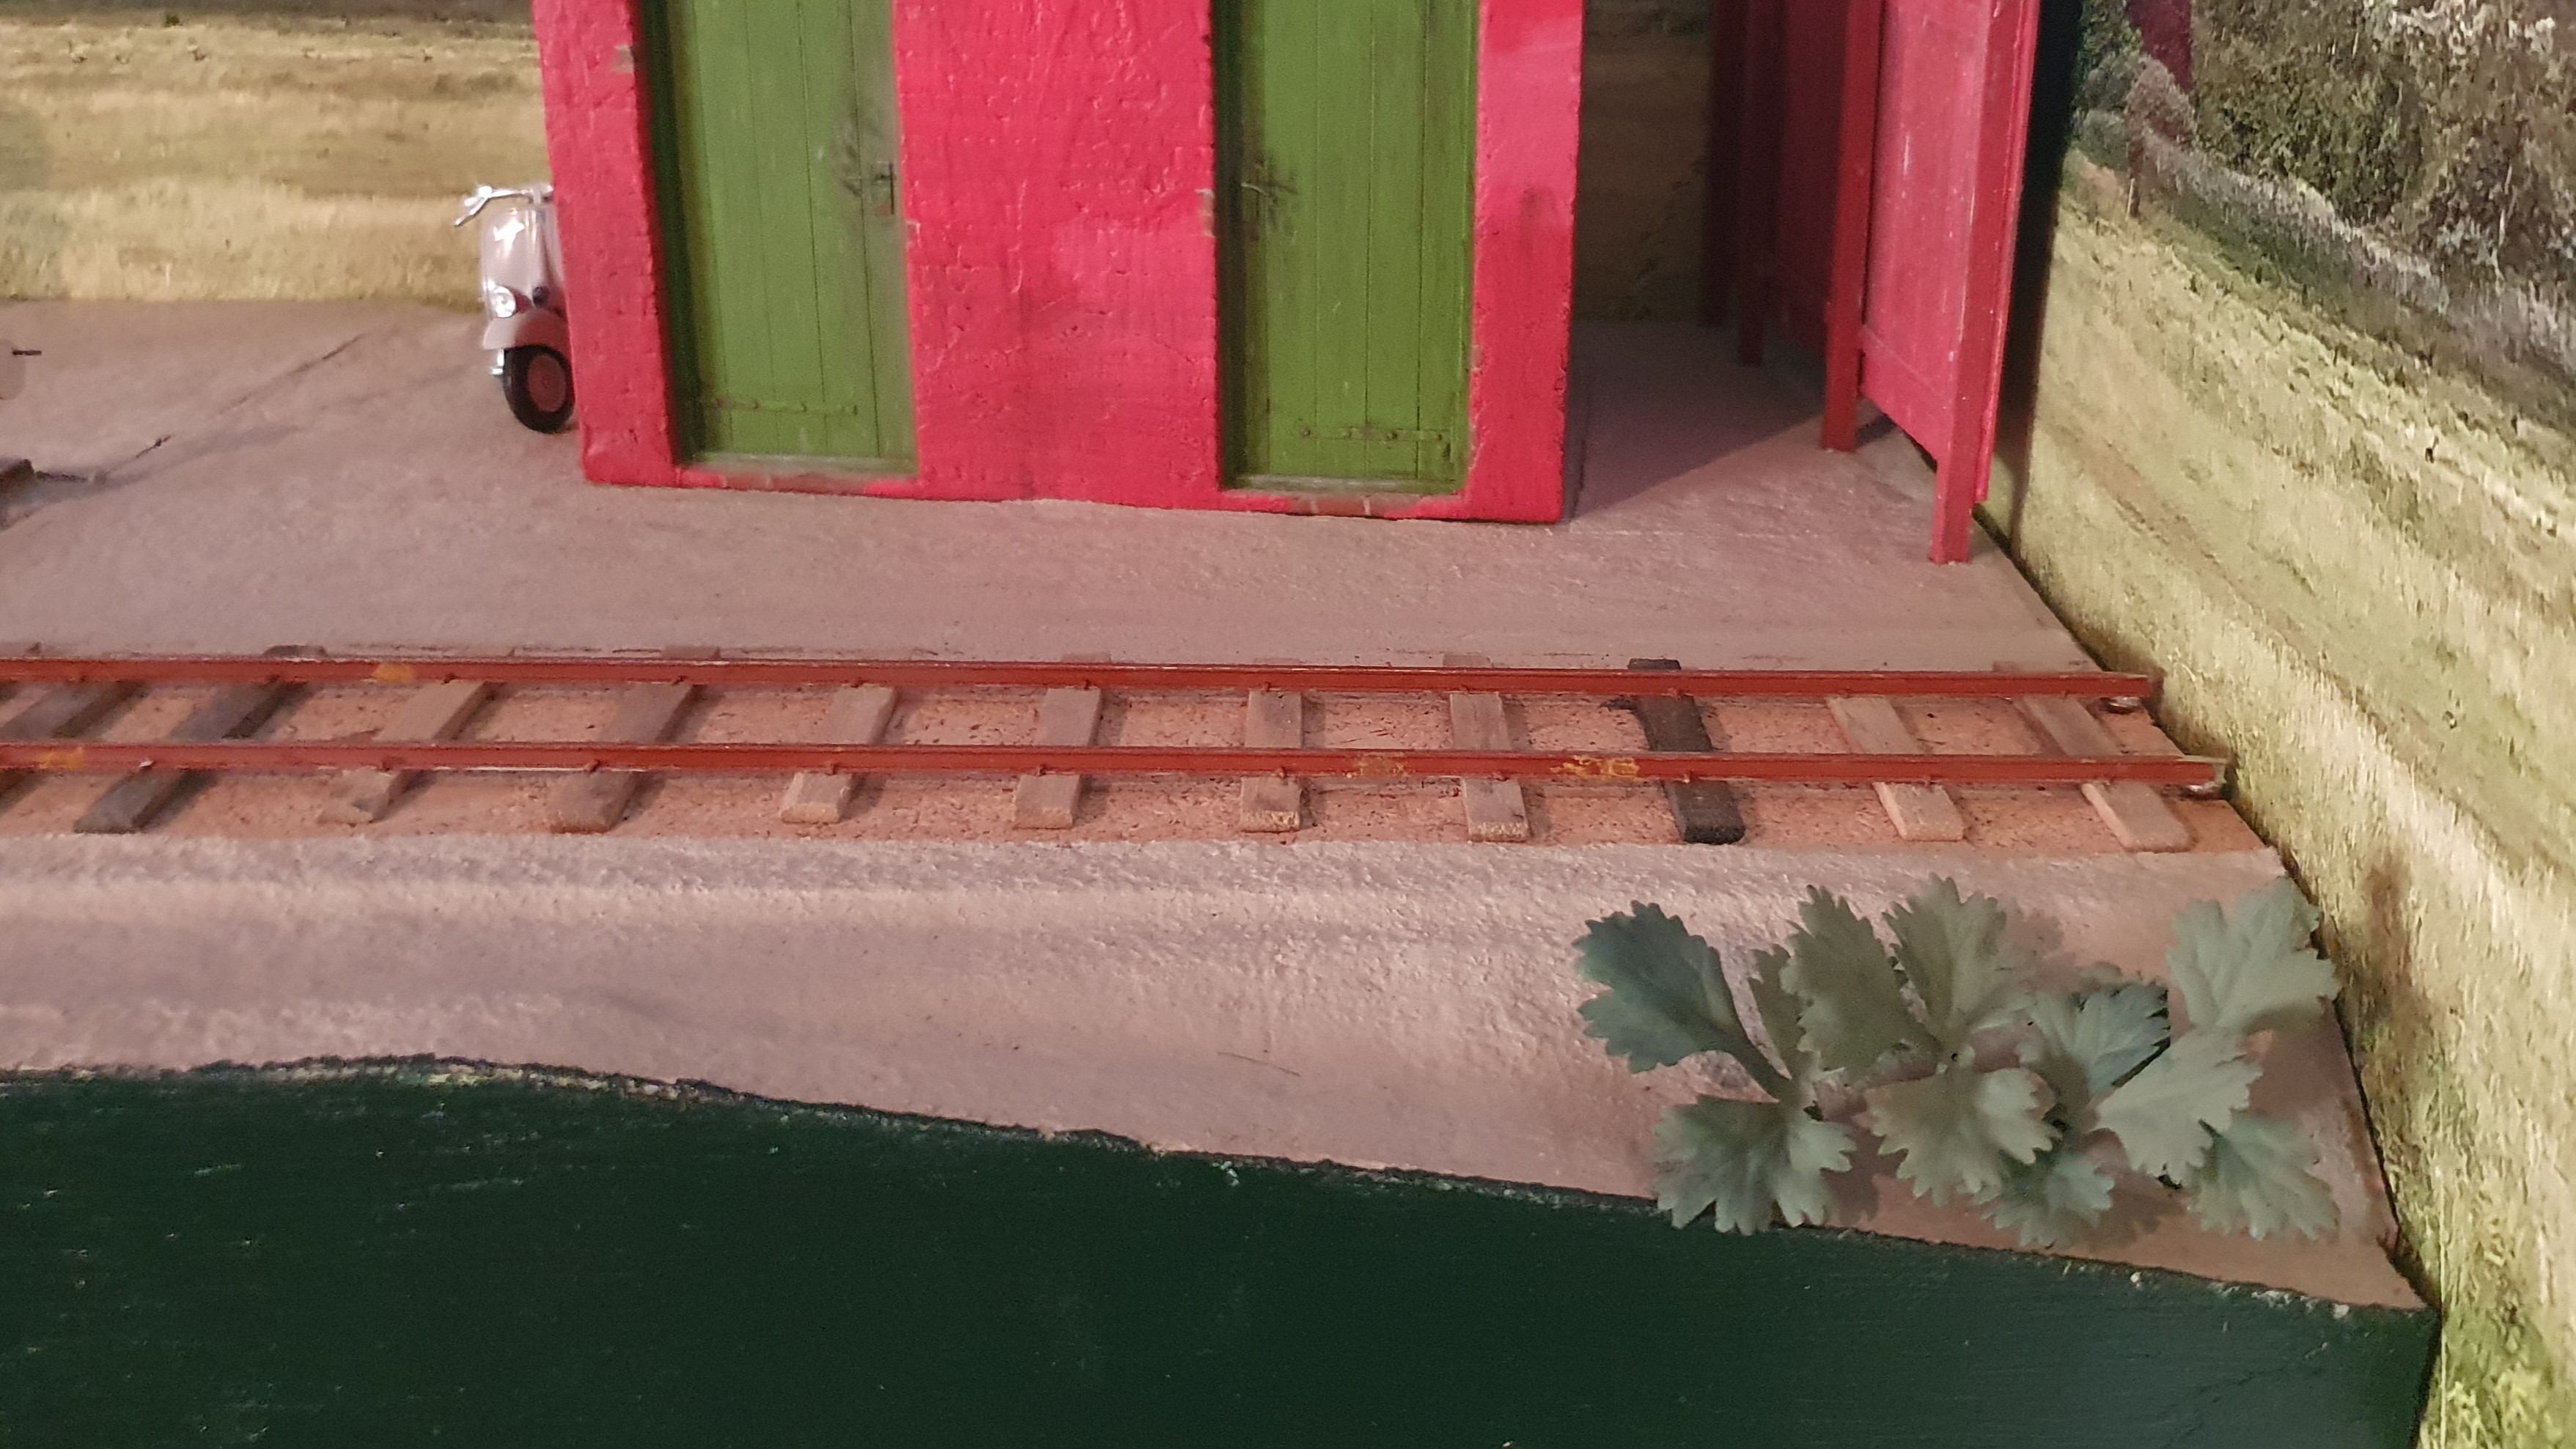
In the beginning of the year I began a campaign of adding ballast, groundcover and vegetation to the layout. I wanted to have the layout covered before the end of 2024. Progress has been steady through the year and for once in the history of the scale model Nystrup Gravel a deadline was met! This doesn't mean that work with landscaping and adding vegetation or detailing the surface is by any meaning finished. Work will continue. See how the layout has been developing and compare with the image below.
 |
| This is how my little 16 mm scale layout looks in the moment. Just a small corner above part of my book collection. Layouts don't have to be large in 1/19 scale to take long to build! |
As most readers of the blog will no doubt know I'm also engaged in keeping a vintage narrow gauge railway running in Denmark. This year the 700 mm gauge railway HVB near Roskilde hosted the 32 Internationales Feldbahntreffen. The gathering is an annual event and draws practically minded enthusiasts from most af continental Europe. 110 guests from Germany, Switzerland, the Netherlands, France, United Kingdom, Sweden, Finland, Romania, Ukraine and Poland participated together with 40-50 Danes. Consequently I didn't get to visit a foreign railway for the Feldbahntreffen, but I enjoyed the event anyway! It was the first time we had locomotives from abroad running on the HVB line as four Dutch locomotives had travelled north.
 |
| Participants of the Feldbahntreffen in front of the three active steam locos - one of them visiting from the Netherlands. |
 |
| A Dutch diesel locomotive with skips meeting a passenger train pulled by Danish Da 7 on Sølund Station. |
I have also had fun doing a little modelling in 1/87 scale narrow gauge both on 9 and 6.5 mm gauge. Not much has been finished but the small size of the models are perfect for bringing to the summer cottage for some relaxing modelling during vacations. I worked on a Ukrainian resin kit of a TU4 bogie loco and 3D printed mining equipment. Only four skips were actually finished, but I'll slowly work my way through the kits and plan for a small Eastern European diorama of a mining scene.
 |
| In November I finished four tiny mine skips in heavily weathered condition. They are excellent 3D printed models from German Micro_Miners. |
 |
| 99 1747-7 in front of the loco shed at Radeburg Station on the 750 mm line Radebeul (Dresden)-Radeburg. The loco was built by Berliner Maschinenbau AG in 1929. |
Visitor wise 2024 has been like many previous years with between 3.500-4.500 views pr. month. The only number that has kept rising is the annoying spam in the comments' section of the blog. Clearly written by AI and always flashing some completely unrelated manufacturer's website. I've had to activate the blog's moderation filter to spare you for utterly useless spam comments. My activity on the blog has been moderate to low with 40 posts - a little more than 3 post pr month in average. December (as usual) is the month with most posts - due to holidays, weather, traditional modelling season and of course the 'extra' post of review of the year.
 |
| My weathered model of Ferguson TE-20 from Schuco parked near the petrol pump. The tractor's driver has disappeared. Perhaps to get a sip himself? |
Looking forward to 2025 I hope to advance Nystrup Gravel's fleet of locos further with a finished Fowler and the Baguley-Drewry loco that Nustrup Gravel took over from the Danish sugar beet lines. On the list is also weathering and detailing of a Lanz tractor and trailer as well as more work on detailing the layout.
Happy New Year - see you in 2025?


