Saturday 16 April 2016

Working on Solvang Construction's Commer (1/35)

As I parked the MMK Bedford O on stand by I knew I had to find a substitute lorry to pull Solvang Construction's heavy load trailer. I chose the Commer Q 2 from Wespe Models, Romania. I have built models from Wespe before. They are not terribly detailed and benefit from some extra detailing with home made parts. But Wespe kits are simple and comparatively easy to assemble if you have a little experience with resin kits. And where else can I get a Commer in 1:35 scale? Nowhere.
A solid card board box protects the few parts during transport.

A low number of parts primarily caused by the fact that chassis, cab floor and seats are cast as one unit. It would not surprise me if the number of parts I add myself will be higher.
Assembly of the frames and wheels presented no particular challenges. I fitted only one fuel tank as I believe two tanks were a military feature. The resin tank missed a fuel filler cap so I made one from a few discs punched out with my punch and die set.


The lorry is on its wheels. It is always a satisfaction to see a resin kit rest solidly on all wheels.
How Solvang Construction came in posession of a Commer tractor is not known to me. But many British lorrys roamed the Danish roads in the early fifties. A major user of the Commer Q 2 was the British Royal Air Force, so it may be fair to assume that Solvang Construction's example had a military past.


A RAF Commer pulling an aircraft trailer carrying a stripped down Hurricane fighter. Sudan 1942.

My Commer mated to the MMK-trailer. The models' proportions fit each other reasonably well. Only a few more parts to add to the lorry's chassis and it is ready for primer.

Sunday 10 April 2016

Draining of the Factory Yard (1/35)

In smaller scales it is usually only very few modellers who take the trouble of fitting gully grates in streets and yards. In 1:35 it is a thing I think is important to remember. As model railways are still seen mostly from above, details on the ground are easily seen - or missed. Particularly in a large scale as 1:35.

In the factory yard of Banke's Bakelite I have fitted a single gully grate to help drain the area.. The grate is from a set in etched metal produced by Epokemodeller in 1:32 scale. I raised the ground around the grate slightly to achieve a little depth under the grate and a slight gradient of the yard towards the grate. Few will ever notice the space under the grate but I like to have the three dimensional effect. The hole under the grate was painted black and the grate itself dark grey after it had been blackened.
The Epokemodeller etch. The supply will probably be more than adequate for even the most unlikely expansion of my 1:35 model of Nystrup Gravel.

Ground being built up from scraps of plastic card and plaster. 
Most of the yard itself is covered with a layer of fine, dark grey sand picked up from a sandy trail near my in-laws' cottage.

The factory yard covered with gravel. Soon the brick wall can be glued in place.
I still have to add a little gravel around the grate and weather the grate itself. 
The yard of the bakelite factory. The wall is fitted and I have placed the power pole to test its position. 

Wednesday 6 April 2016

Track Painted and Ballasted (1/35)

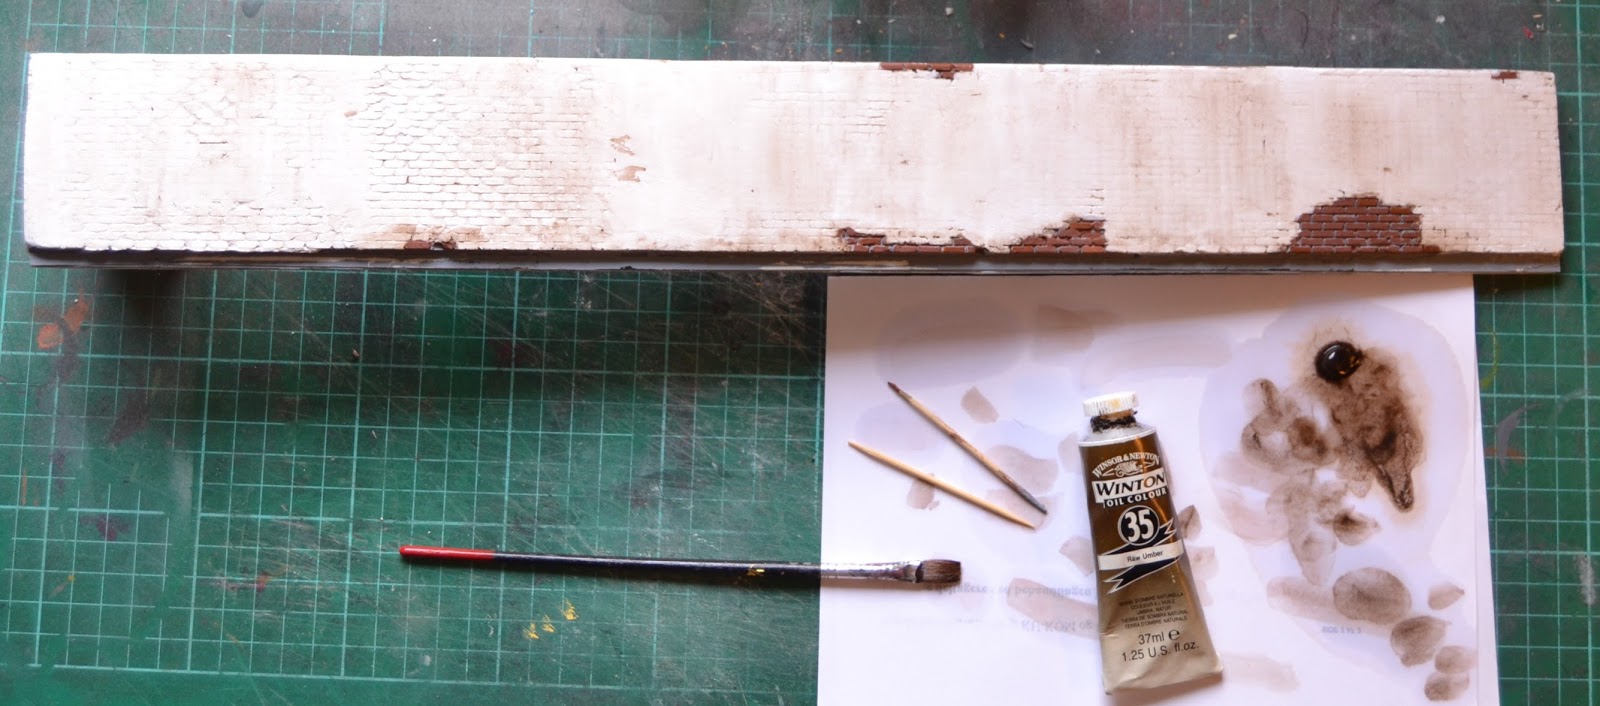
Having tested the track on the factory module for a while with a variety of locos, I turned to painting track and sleepers. Rail and steel sleepers were given a coat of Humbrol 113 'Rust'. When dry some sleepers were painted with Vallejo 71.129 'Light Rust' to create a little variety. The top of the rails were then wiped clean. After a few days I gave rails and steel sleepers a wash of heavily diluted burnt sienna oil paint. The top of the rails were wiped clean again.
A length of steel sleepered track painted and weathered.

The few wooden sleepers on the module were treated with an very thin mix of several oil paint; primarily black and burnt umber. After painting the track was left alone for a few days and then tested again. I wanted to make sure the track still worked flawlessly before starting ballasting.

It seems to me that modellers are divided as to when to ballast track: before landscaping or after. I like to have the track finished before gluing down grass, buildings and other scenic features, but after all the 'dirty work' with plaster and power tools. Ballasting on Nystrup Gravel is done with gravel. Surely no surprise there. The gravel company hadn't much money for track maintenance, but gravel was never in short supply. I am using sieved gravel from a bucket I acquired when the pavement was laid down around my old house. Before use the gravel is sieved through an old kitchen sieve.
Lumps of grass glued in the track. I use small pieces of grass mats from Heki.

Tufts of grass are glued in the track before ballast is applied. Most industrial railways never fought grass and weed in the track and consequently a generous amount of vegetation shot up between the rails and sleepers. I also placed litter and garbage before I ballasted. I figured that the short part of the line passing between the brick wall and wooden fence would be a place where litter accumulated. I placed some old bricks (Preiser), an empty oil can (Plus Models), some rags and card board (home made from copper foil) and some empty bottles (Plus Models).
Grass and litter in place before ballasting. I have never tried to add litter along the line so I am curious to see the result when the ballast is in place.

I sprinkle the sieved gravel over the track with a small spoon. The ballast invariably getting stuck in the grass is removed by working the grass tuft with a tooth pick (the glue used for the grass must be completely dry by this time). I adjust the sprinkled ballast with a soft brush, making sure rail and sleepers are free from ballast particles.
The dry ballast is now in place. The last pieces of ballast on sleeper tops and rail still needs to be removed with a soft brush.

I use standard white PVA glue thinned with tap water to glue the ballast in place. I add a few drops of washing up soap to remove the surface tension of the liquid. The glue is applied with a standard syringe. Many articles mention that the ballast is wetted with water and and a few drops of washing up liquid, but I have always skipped that part and gone directly to application of glue. I have never had problems with glue penetration in the ballast.
After the glue has been applied the track needs to dry thoroughly before being worked on again. I apply the thinned white glue with the syringe in the foreground.
Once the glue has fully dried I clean the track of loose gravel with a vacuum cleaner. Then it's time to clean the rail heads again. I use a soft cloth with acetone followed by a wipe with a Q-tip dipped in window cleaning fluid.

The glue has dried and all that remains is some minor adjustment and a little air brushing.
 

Ballasting done. The module progresses slowly. The end tipping skip is left on the track.

Saturday 2 April 2016

The Wall (1/35)

The long brick wall separating the bakelite factory yard and Nystrup Gravel's 600 mm. track is a an important back ground feature on the factory module. I was inspired to build the wall from the white painted brick wall in my back garden. The brick wall at Banke's Bakelit was probably erected in 1942 after one of the company's lorries toppled the old wooden fence.

I built the brick wall from elements cast in plaster using a mould from Diorama Debris. The elements were glued to a piece of foam board. I filled the transitions with plaster and a thin mix of plaster was also used to cover most of the wall to represent a plastered wall. A few spots were left without plastering to show the bricks. On the rear side of the wall I glued Tamiya brick paper as the wall will not be viewed by many from that side.

The plaster castings that makes up the main parts of the wall.
The wall assembled, plastered and painted.
I painted both sides of the wall with thinned white acrylic paint. After the paint had dried I covered the wall with matt acrylic varnish from a spray can. I sprayed the wall with varnish twice to make sure I got a good covering. The varnish provided a safe foundation for the final treatment with oil paint. A thin mix of turpentine and raw umber was washed over the wall. I made sure to get the treatment heaviest near the bottom of the wall. A little green paint was used to represent algea growth near the ground.

Applying oil paint to the wall.
Ground up chalk pastel was brushed on the bottom of the wall with a short and stiff brush. Although the pastels need a protective cover of flat varnish, the wall is now basically ready to be fitted to the module.

The wall seen from the bakelite factory yard. This is the side that will not be seen by many, as it is facing away from the module's front.
The wall's front side. Although inspired by my own garden wall, this one is much dirtier.