Showing posts with label detail. Show all posts

Friday, 7 February 2025

Fowler Cab - End In Sight

Work on the cab interior on my Essel Engineering  Fowler F30 has progressed pretty well. All major parts have now been built and primed with some even painted and installed in the cab. The only item on my list of interior items that I haven't finish is the hand tools. I can't remember where I put the white metal handtools that I wanted to place on the cab floor. On the other hand additional details have been added and window glazing for the front windows have been prepared. 

Painting the interior and fitting the details in progress.

The interior is built in segments and planned to be glued in place inside the cab as painting and assembly order of different exterior fittings dictates.

The instrument panel was in an early stage in the last post on the cab interior. After drilling holes for the instruments it received a little putty and some sanding. Then I added some small push buttons from sliced round plastic stock. The panel was primed and given a cover of medium grey on the frontside and silver on the inside of the holes for the dials. The transfers are fitted to thin clear plasticard and covered with a thin layer of gloss varnish. The dials are then cut out and fitted on the inside of the panel with Humbrol 'ClearFix'. Once dry a drop of 'ClearFix' is also onto the dial from the front. The idea is that a light source mounted in the instrument panel will allow a little light to shine through the clear plasticard and thin transfer to show illuminated gauges. Fingers crossed!

Instrument panel in plasticard and 1/35 scale transfers for the instruments.

The first dial fitted to the 16 x 25 mm instrument panel. Only the green lamp will light up on my loco. The red lamp has been blocked by layers of black paint on the rear side of the panel.

Once the design of the gear levers and associated stuff was finally decided, the box for the levers and clutch pedal was quickly built. The two levers and pedal were cut from plasticard. One gear lever is for directional change - positioned firmly glued in 'forward'. The other lever is for 'low' or 'high' and permanently positioned in low gear.

Instrument panel finished, levers and sanding pipes fitted to the sandboxes and gear installation in progress.

Gear levers and clutch pedal test fitted in the cab. 

The speed controller is not patterned from a real Fowler loco, but from a preserved Danish narrow gauge locomotive. I guessed the simple design would be one that a mechanic at the Nystrup workshop could have made without any fuss: a length of angle iron and a handle with a wire connection to the engine. 

Speed controller glued to the front wall in the cab. Pencil lines marking floor level to help adjust cab interior.

A small triangular plate fitted in the rear cab corners. A convenient place to place the note book used to keep track of the number of skips propelled back and forth each day.

Some interior details are fitted by now, while others have to wait until repainting of the loco exterior is finished. 

Back on the layout for a snapshot. The loco is looking so much better without the original huge battery box in the cab. Next up is little work on the buffers and a repaint.


Tuesday, 21 January 2025

Fowler Cab Interior Detailing

With the detailing of the model's exterior mostly done I have now turned my attention to the cab interior. Previously I had fitted a new cab floor and added a plate separating the cab from the engine compartement. As with the exterior most of the detailing is planned to be made with plastic card and profiles with nickle silver wire added where needed. During my Christmas vacation I rebuilt and painted a driver figure for the loco. Now the rest of the cab interior is under construction. 

Testing placement of the left sand box in the Fowler cab. The plate separating cab and engine compartment shows up in white plasticard.

I chose to model the cab interior as it looked post-war after a substantial rebuild of instrumentation and levers. Nothing in the Nystrup Gravel company archives indicates that the rebuild included a new engine, but rather that the idea was to allow the driver to control gears, brake, sanding and speed from the right side of the cab. On most Fowlers the driver had to switch from left to right in the cab to manipulate every lever. 

My plan is to add the following items: 

  • Brake column
  • Wooden blocks
  • Driver figure
  • Sand boxes with levers and pipes
  • Gear lever
  • Speed control
  • Instrument panel
  • Oil cans
  • Hand tools

Brake column finished and painted. Sand boxes begun. Cardboard test pieces and off-cuts seen right.

Sand boxes being sanded. First parts cut for instrument panel. This is enjoyable, old school, basic modelling. Next stage involves fitting details: openings for filling, levers and pipes to wheels. Endless fun! 

The sand boxes and instrument panel are basic plasticard constructions with added detail from metal wire and pipe. The instrument panel is designed for lighting with full top and bottom and black painted interior to prevent 'shine through' from the probably very dim light source I'll build into the panel. I'm still searching for usefull decals or prints for the gauges. Consequently I have not yet made any holes in the panel's front plate.

Major elements in differing stages of finishing. Oil can needs only weathering, while the instrument panel is only just started. Sand boxes are sanded and all visible corners rounded. Openings for sand refilling are added from plastic pipe.

The coming week I hope to finish the sand boxes and work out their final mounting in the cab. The last remaining item to design and prepare in the cab is the gear lever and that is still mystery to me. 

Saturday, 21 December 2024

Fowler Driver Figure and Brake Column

With the Christmas holidays just started after the last tasks were done on the job, I jumped directly to the worktable, cleared away the worst mess and began working on the driver figure for the Fowler and continuing work on the brake column. Christmas will be the time for cab interior on the Fowler!

Brake column needing only final sanding and cleaning before it can be primed and painted. The wooden blocks are test pieces to check what sizes and numbers of jack blocks can be fitted under the cab floor.

The brake column is a simple thing glued together from plastic tubes of different diameters set onto an (almost) eliptical mounting plate and fitted with bolt head imitations of sliced hexagonal plastic profiles. Not entirely prototypically, but good enough for its future hard to see location in the cab. 

Quite fast I decided that the driver on the Fowler locomotive had to be the standing figure in Modelu loco driver pack 11219.  The figure arrived in May among a batch of stuff from Modelu. The figure is almost a perfect fit leaning against the low rear wall in the cab. Initially I have adjusted the figure's height by trimming shoes and cap with knife and sanding sticks. Not much work but the pose improved and taking a milimeter or two of the figure's height also makes it easier to get it in or out the cab once its filled with levers etc.

First stage of 'building up a butt' on the driver figure. The in-progress brake column is just visible in the cab.

The most time consuming work on the figure was adding material to the back side of the figure. As the figure is designed to sit on a flat surface and I'm having my example sit on an edge I was in for some plastic surgery of adding 'tissue'. I used 'Green Putty' from Green Stuff World building it up in layers. I'm working on a good fit between figure and loco, to make the figure removable and yet being able to keep its position while traversing bad track (as all track is at Nystrup Gravel). Currently I'm adding the last layers of 'Green Putty' and smoothing out the surface before sanding begins.

When the figure arrived in May he was photographed leaning against the Fowler loco. After being 'tailored' to fit in the cab he will probably seldom be seen outside. Too bad actually, as it is a lovely scale figure.

With a good start on the holidays modelling wise, I look forward to some time at modelling table. It needs a more thorough cleaning. After working with vegetation and ground cover it is covered in fibres and gravel. Having started on the figure and cab interior I've an urge to finish as much as possible during all the other Christmas activities. 

A few printouts from the article kept safe in plastic chartecues in my 1/19 modelling binder. Easy to see I'm a modeller from the previous millennium!

Besides prototype photos the article by Bill Strickland in the November 1980 issue of 'Merioneth Mercury' is a good guideline for my work on the locomotive. I think it shows how good quality magazine articles are a lasting ressource in modelling. Don't throw away that kind of treasures!

Sunday, 4 February 2024

Fowler Exterior Detailing

With the Fowler locomotive finally equipped with remote control and moving along the track on my little layout I have now begun fitting details to the rather sparsely detailed model. I have planned to do this in two major stages: the loco's general exterior and cab interior. I decided to do the exterior detailing first. 

The Fowler pulling out of the gravel works heading east with four skips.

I wasn't aiming for all out fine scale detailing, but wanted to add an extra level of detail to the loco as it looked rather bare in its out of the box condition. I added the following parts:

  • strapping on bonnet and gear box cover
  • bolt heads on radiator
  • L-profiles with bolt heads under footplate
  • bolt head detail on frame sides
  • hand rails and handles on bonnet doors
  • bolt heads on jackshaft cranks
  • adding horn and brackets for jack

Exterior detailing in progress. Metal strapping in the form of plastic strips fitted with AC glue. Behind the Fowler a for-fun Lada Niva project is just visible in black primer.

Strapping was added with plastic strip and L-profile superglued in place. Where needed I added bolt heads from slices of hexagonal plastic profile. Small gaps were filled with Vallejo plastic putty and sanded smooth. Bolt head details on the frames were added using the same hexagonal profile. 

Handles and hand rails were made from 1 mm NS wire AC-glued in holes drilled in bonnet and gearbox cover. I used flat nosed pilers to get 90 degrees bends on the hand rails and a small drilling jig to get the correct distance between the holes I drilled for mounting the hand rails.

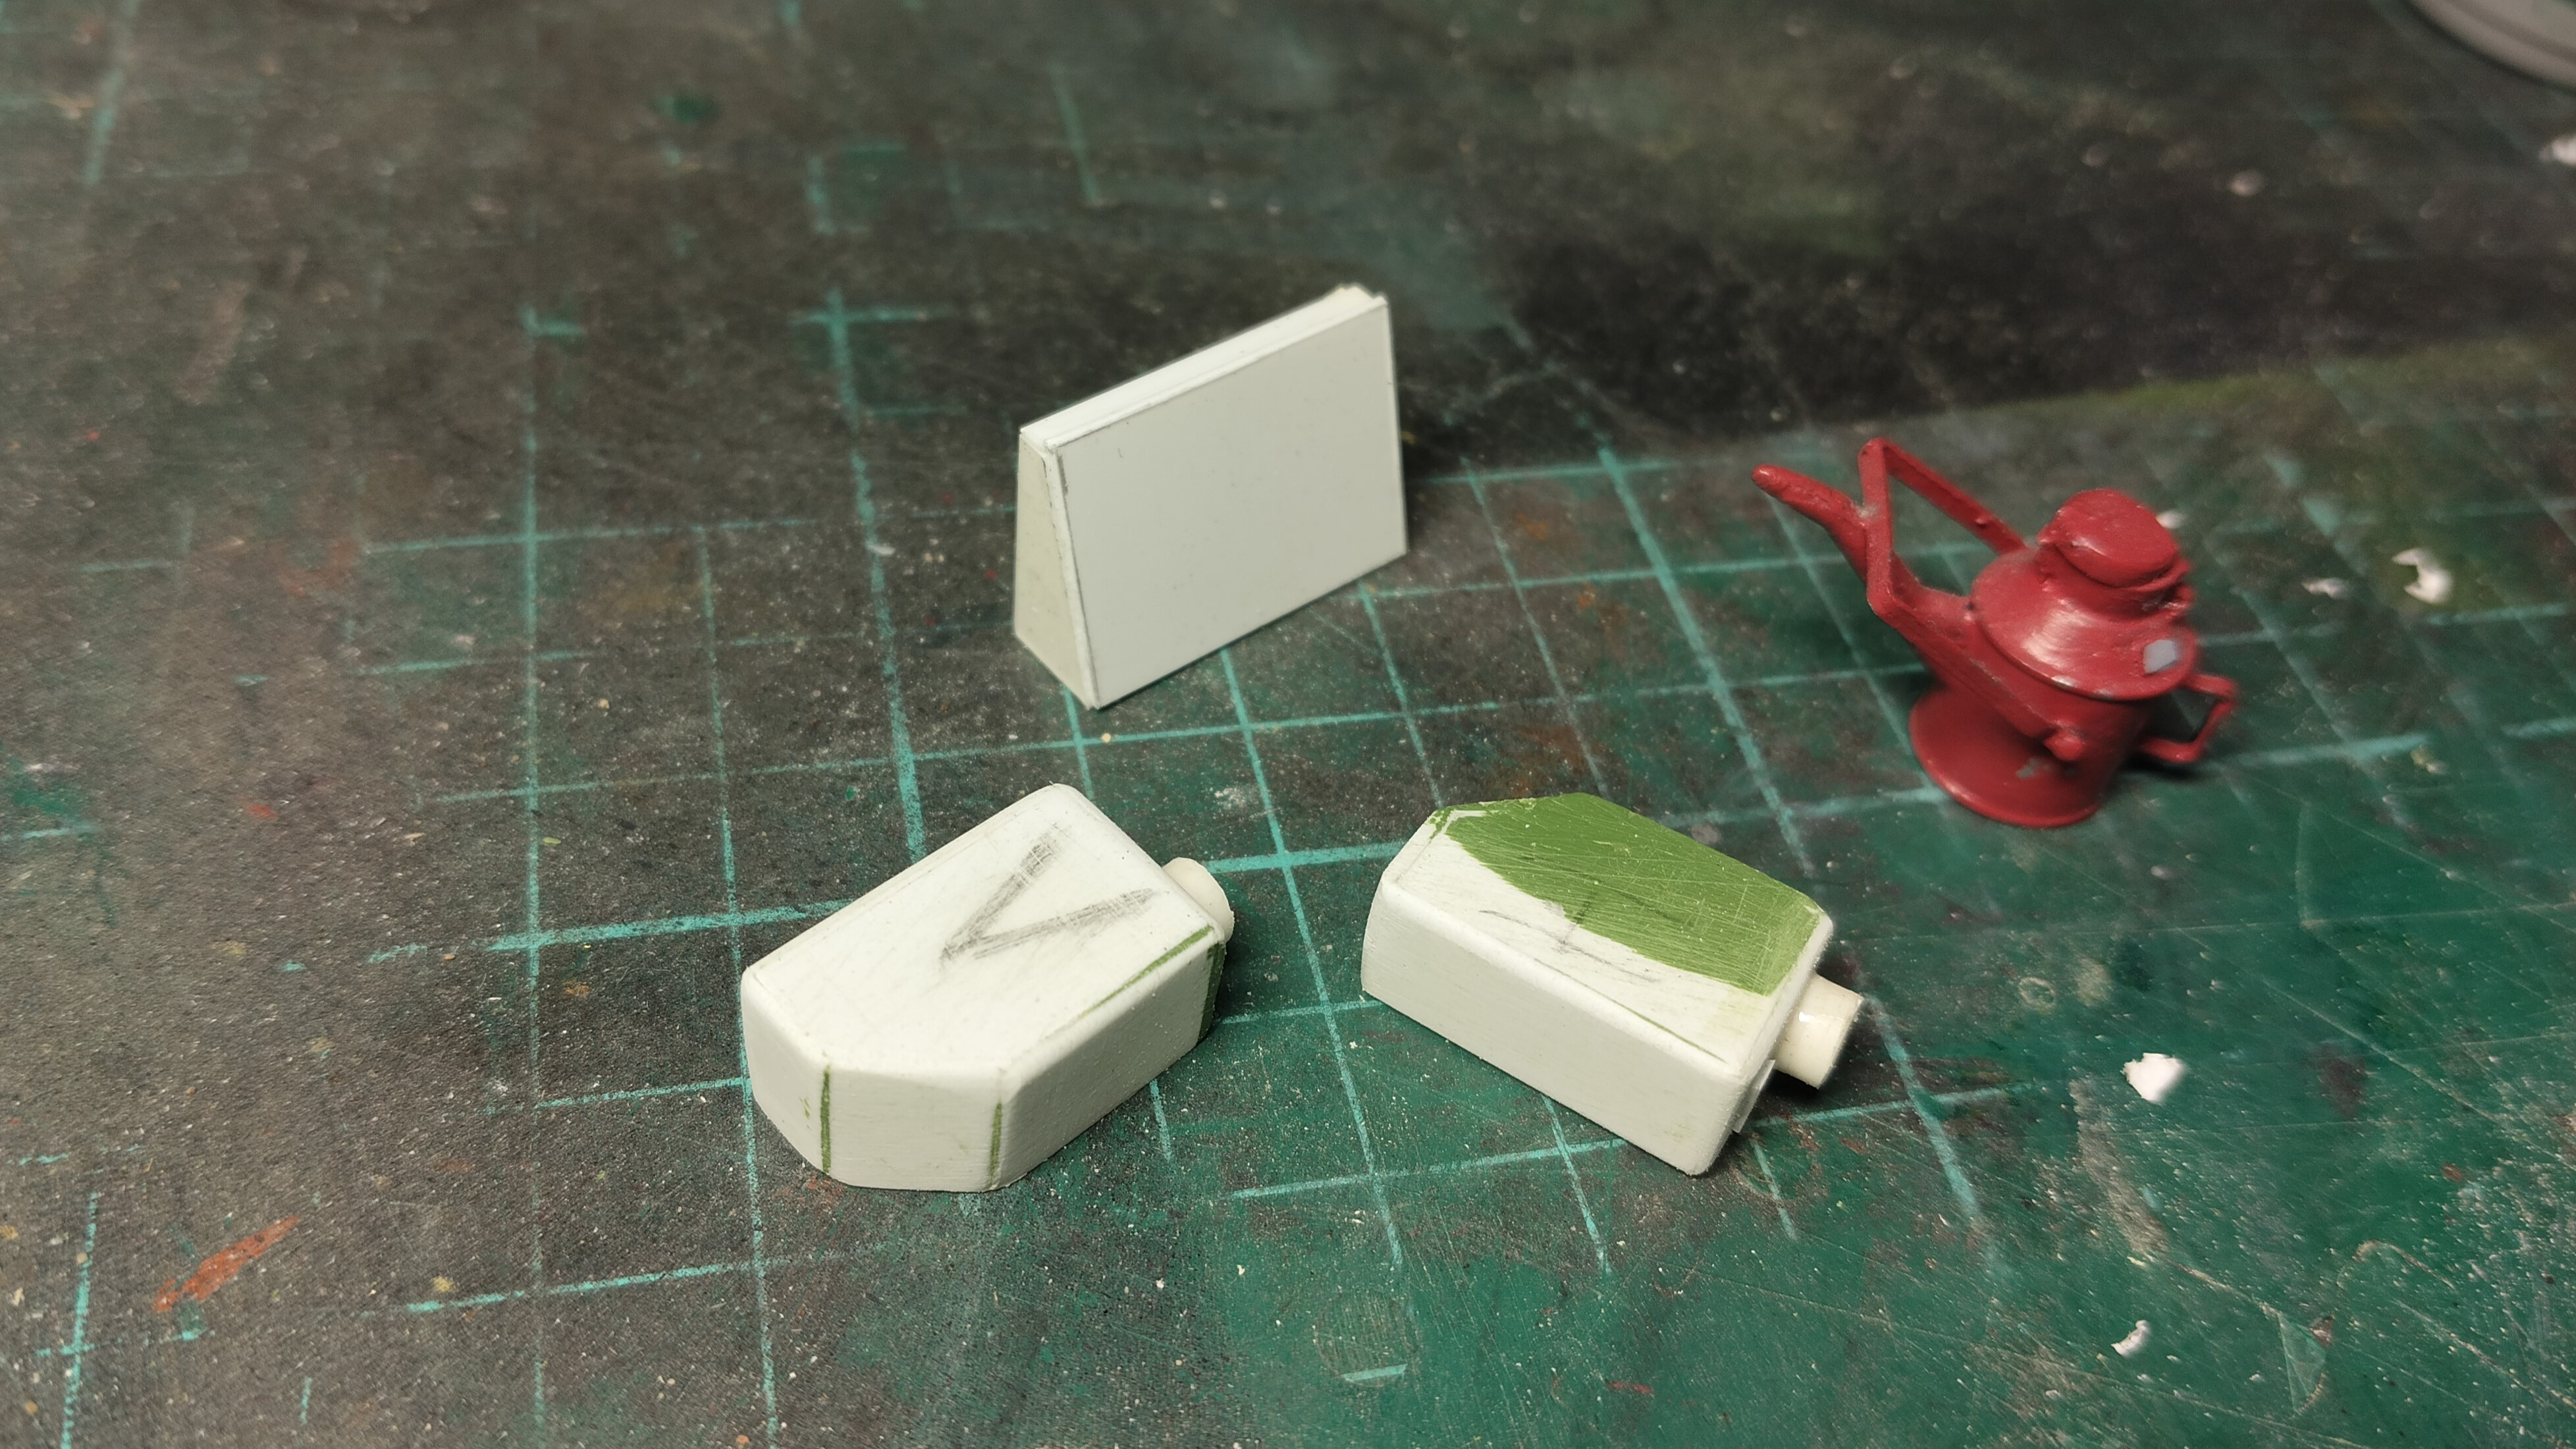
Most trains at Nystrup Gravel experienced derailments now and then and a jack, some blocks of wood and a length of rail was standard equipment for derailing work. Archive images of the Fowler in service shows a large jack positioned on the right side of the bonnet with wooden blocks being kept ready under the cab floor on the left hand side. I fitted a large former German Army issue jack in a bracket on the loco's right side. Bottom plate and bracket was cut from NS plate and bent in appropriate shapes. 

The jack placed in its bottom plate and bracket locked in position with a piece of bent wire. The jack was built from a whitemetal kit in 2019 originally meant for another project, but judged far too big.

The horn is a brass casting from the trade supplying ship modellers with parts. There are quite a few nice items from that area of modelling that can be put to good use in large scale railway modelling. The horn was mounted in a hole drilled in the cab roof. I mounted it in a crooked angle to illustrate the loco's age and well used condition in the beginning of the 1950's.

The horn glued in place on the roof of the loco. The slight crookedness is a sign of many years of service and some worn bolts working themselves loose during running on the line's uneven track.

In total no less than 98 exterior detail parts were added, by far the majority being bolt heads. The details may not be particularly obvious once the model is repainted, but I think it adds to the overall appearance of the model.  

View of the unfinished loco's right side. I removed the Essel Engineering's building plates from the cabsides. One of them will be fitted out of sight inside the loco. 

With the main exterior detailing finished I assembled the locomotive and took it for a ride on the layout. Next task on the Fowler is the cab interior that will include brake, regulator and gear levers, basic instrumentation and sand boxes. Oh, and the bolts on the jackshaft cranks that I forgot to fit.

Shortly before bedtime I couldn't resist taking the Fowler for a little running on the layout. Just to keep the appetite for a completely finished model intact.

Saturday, 10 July 2021

Fish Plates Fitted

Like the first railways managed just fine without fish plates so have Nystrup Gravel for some time now. As the real gravel line at Nystrup used fish plates to make a firm connection between individual rail lengths, it has only been temporary. Now the fish plates have been made and fitted.

Fish plates in 3 stages: in bands, separated and bent once top left) and finished (top right) except for sanding the tabs off.
 
The fish plates from Wenz Modellbau are made from etched brass. The fish plates are designed for Peco Code 143 vignole rail and on the Wenz Modellbau website they are marketed as being patterned on the Württemberg State Railway z-fish plate. The fish plates are etched in 0.5 mm brass and delivered in two bands with 55 fish plates each. One band is with rectangular bolt heads and the other band has 4 hexagonal nuts. 

My Mission Models 'etch mate' folding tool. A fish plate clamped in place for bending.

To bend the fish plates in shape I first had to locate my folding tool. Once found, it turned out that the z-shape was quite challenging to obtain with the folding tool. I made the first 90 degree fold in the tool and used a pair of flat nosed pliers for the second 90 degree bend. The resulting fold isn't as nice as with a folding tool, but as the real fish plates are from rather rough, stamped steel plate, a little rough bend isn't a huge disadvantage.

Wenz Modellbau fish plate soldered into the web of the Code 143 rail. The workers at Nystrup Gravel really messed this pair of joints up, even having to install a sleeper at an angle to make room for the fish plates.

The fish plates are soldered to both rail ends in the rail joint. As the track length is limited I don't expect much expansion to occur and I hope the soldered fish plates will hold up to the forces of traffic and physics.

Sunday, 7 March 2021

Pedershaab Progress

As I mentioned in December, I finally got time for further work on my Pedershaab-locomotive project. I found full scale size axle boxes, springs and other parts from a Pedershaab-locomotive and measured them. Measurements and photographs were e-mailed to a friend of mine with his own part time modelling business Epokemodeller. He was willing to help me transforming notes and images to actual scale objects. I have tried to illustrate the process from measuring, over drawings to ready-to-print file with four images.

Taking measurements of a spare Pedershaab axle box at the Hedeland vintage railway.

The first drawing of a complete axle box assembly from a Pedershaab D-type from the 1940's. Drawing: Epokemodeller, Per Møller Nielsen.

3D-illustration of the parts' relation in the completed axle box assembly. Drawing: Epokemodeller, Per Møller Nielsen.

Four axle box assemblies set up for 3D-printing ready to be sent to the printer. Drawing: Epokemodeller, Per Møller Nielsen. 

Why not just build the axle boxes in an old fashioned way from plasticcard and brass strip? Well, I didn't really fancy making four exactly identical objects, and as I have previously built 8 Pedershaab axle box assemblies in 1:35 scale I felt like having exhausted my motivation for the task. With the external help I am even able to have further copies made should I decide to build another Pedershaab in 1/19 - or in any other scale for that matter.

Talking of the external help: While I did pay a sum of money for design and prints, I'm quite sure I wasn't charged the amount that would be required to cover my friend's full outlay of time, effort and talent. Something a lot of good hearted and enthusiastic semi-professional suppliers to the model railway trade are guilty of - making their trade a dangerous undertaking. Remember that no one's time and talent are free when they work as professionals. If you want their services available tomorrow, you have to pay for it today.  

I'm now looking forward to receive the printed parts and get on with building my Pedershaab locomotive. Perhaps a little Pedershaab surprise could be unveiled at the same time?

Wednesday, 17 February 2021

Chief Mechanic Thorleif Petersen

Thorleif Petersen was chief mechanic and workshop manager at Nystrup Gravel in the 1940's to well into the late 1950's. Now he is once again keeping a watchful eye on all things mechanical at the gravel company, only in 1/19 scale. He is a 3D-printed figure from Modelu, item 1446 sold as 'Fitter with tea'. 

My interpretation of Thorleif Petersen, workshop manager at Nystrup Gravel here seen standing in front of the petrol pump.

Born in Copenhagen and trained as a mechanic at the Burmeister & Wain shipyard, Thorleif went to fight in the Spanish civil war as a volunteer. Upon his return to Denmark he looked for employment away from the capital and began working for Nystrup Gravel. He kept his socialist preferences and was part of a communist resistance group during the German occupation between 1940-1945. He and his group conducted small scale sabotage against the Germans around Nystrup. They even teamed up with a conservative resistance group and built the largest home made armoured car used during the liberation.

Modelu figure 1446 in a computerized illustration. I like the relaxed stance, coffee cup in one hand and the other in the pocket. Photo: Modelu website.


Modelu's figure is of the usual quality needing very careful painting to do satisfactory service in my 1/19 scale world. Where details were soft or lacking I tried to add them with files, sandpaper and a sharp scalpel. I mostly worked on the line between shoes and trousers that was very weakly defined.  Basically the work was no different to the work I did on my first Modelu figure back in 2018. Where weak definition of detail coulden't be fixed with hand tools alone, I tried to fix things with paint. My Thorleif-figure is painted in Vallejo Acrylic 963 'Medium Blue' for the overall, 70983 'Flat Earth' for the trousers and 860 'Medium Flesh' for the skin areas. Shirt is white, shoes dark brown and his cloth cap a home mixed light grey-brown. Folds in clothing were accentuated with a darkened colour in the bottom of the fold and a lightened colour on top of the fold.

Figure just out of the package and set up on the photo plank.

On the work table after treatment with files and scalpel. Three buttons fitted to the overall from thin plasticcard. Before being primed the figure was washed in warm water and allowed to fully dry.

After a thin layer of black primer, the main colours have been brushed on. A lot of work still remain.

The final brush strokes have been added. After a layer of matt varnish I added some general dirt, dust and oily spots to overall and boots. I'm no Claudia Everett-like master figure painter, but placed in the shadow of a building in the background I'm sure the figure will add some life to my little layout.

Thorleif Petersen was instrumental in keeping the gravel company's production running through the difficult years during the occupation, as well as the years immediately after. Somewhat paradoxically he made it possible for Nystrup Gravel to provide large amounts of gravel for the German airforce's huge air field, while he was also actively restisting the occupants. Always a loyal employee, he used his knowledge to help Nystrup Gravel to aquire all sorts of mechanical equipment cheaply. 

"Did you remember to oil the chain drive?" Always observant to correct maintenance and proper use of machinery, Thorleif spared no effort to instruct employees. Not all of them were used to treat equipment with care.

After the war, many from Thorleif's German network rose to management roles in the Soviet occupation zone in Germany - later to become the Deutsche Demokratische Republik. He attended several political schools in DDR and took engineering courses in Karl Marx Stadt as well. The Soviet invasion in Hungary in 1956 made Thorleif leave the communist party, but he remained firmly devoted to socialist values.

The early spring sun is casting long shadows on the brick shed, while Thorleif and worker Kjeld Hansen admires a Vespa poster - and the bikini clad driver. Thorleif was a devoted coffee drinker, seldom seen without his green enamel cup in hand.

Many years after his death Thorleif continues to inspire my modelling. His family has kindly handed over a stream of documents, photographs and items originating from Nystrup Gravel. Some of the information has been truely revolutionary in the way it has helped write small scale Danish industrial railway history.

Friday, 25 December 2020

Lorry Load From Spare Part

My modelling has always been inspired by the use of left over parts, scrap items and stuff you don't necessarily find in hobby shops. The basis of this little project is just that - an unused part from a kit, turned into something useful.

The Tempo Hanseat from Banke's Bakelite - registration number E 902 - with an electric motor for the factory production line.

The stationary electric motor came with the 1/16 scale Bandai kit of a showman's steam engine, that I rebuilt into haulage contractor Hansen's steam traction engine in 2019. In reality the part is the belt powered electric generator from the showman's engine, but I think it will pass pretty well for an electric motor. The generator was almost completely assembled by the previous owner. I only removed a couple of small glue stains with files and sandpaper and adding the few remaining detail parts.

First layer of paint is airbrushed on. Dark blue grey with brushpainted scratches in 'dark brown'.

The finished electric motor ready to be loaded on the small Tempo-lorry from Banke's Bakelite.

I found a small dry transfer with a builder's plate and fixed it on one side of the motor. A wash with heavily thinned brown and black oil paint served to create shadows and differing tones to the colouring. Then I airbrushed a layer of dust over the upper horisontal parts of the motor housing. The drive wheel carrying the transmission belt was brush painted with gun metal and rubbed with graphite powder to obtain a worn look. Finally the scratches were accentuated with a sharp pencil that was also rubbed along the wire guards. The motor was then glued to two pieces of wood to ease handling.

To install the motor safely on the load bed of the Hanseat, I cut some lengths of wood to prevent the motor from moving. It may not look very safe, but the motor is only going a short distance to its destination.

With a rudimentary fixing down of surplus timber, the electric motor is on its way to future service at the bakelite factory in Nystrup.