Thursday, 25 February 2016

A Change of Track (1/35)

No. Nystrup Gravel is not about to change scale or gauge - or even worse go standard gauge. Recent test running of locomotives on the steel sleepered track on the factory module showed that the track laid down was a little under gauge. While narrow gauge is great, you can actually have too much 'narrowness'. A track gauge of 16.0 - 16.2 mm. is obviously too narrow to safely operate several of my locos. I also noted that my Magic Train steam loco bumped the bolts on the sleepers. I have consequently lifted my Coldicott-track.

Having mentioned my troubles on the NGRM-forum a good friend from the Netherlands came to the rescue with track panels of his own design. Just at few days later I had a generous number of 3D printed steel sleepers on Code 83 rail to install.
The old track ripped up and new track panels being laid. The brick wall is still very far from finished and removable - which makes track laying easier.
I am using track spikes from KBscale. The small spirit level is perfect for checking if the track is level. The light yellow resin sleepers are Blitz French army sleepers. They fit Code 100 rail.

I laid the new track panels in the same way as I had laid the Coldicott panels. I inserted wooden sleepers under the rail ends and connected the rails by soldering them on brass plates. In real life the wooden sleepers would provide stability to the track. Current to the rails is supplied by wires soldered to the underside of the rails connecting to heavier wires under the base board.

I used up my remaining few Blitz resin French army sleepers in one end of the module. I hadn't many left and I thought it fun to include an other type of steel sleeper on the module.
Shims of plastic of differing thickness are used to 'tamp' the track. 1:35 scale track building isn't that far from putting together full size track panels! The dummy fish plates are from KBscale.

Testing the track with different vehicles help me determine if there are problematic spots in the track. Here the little speeder is being run back and forth on the module. The Q-tips are used for rail and wheel cleaning.
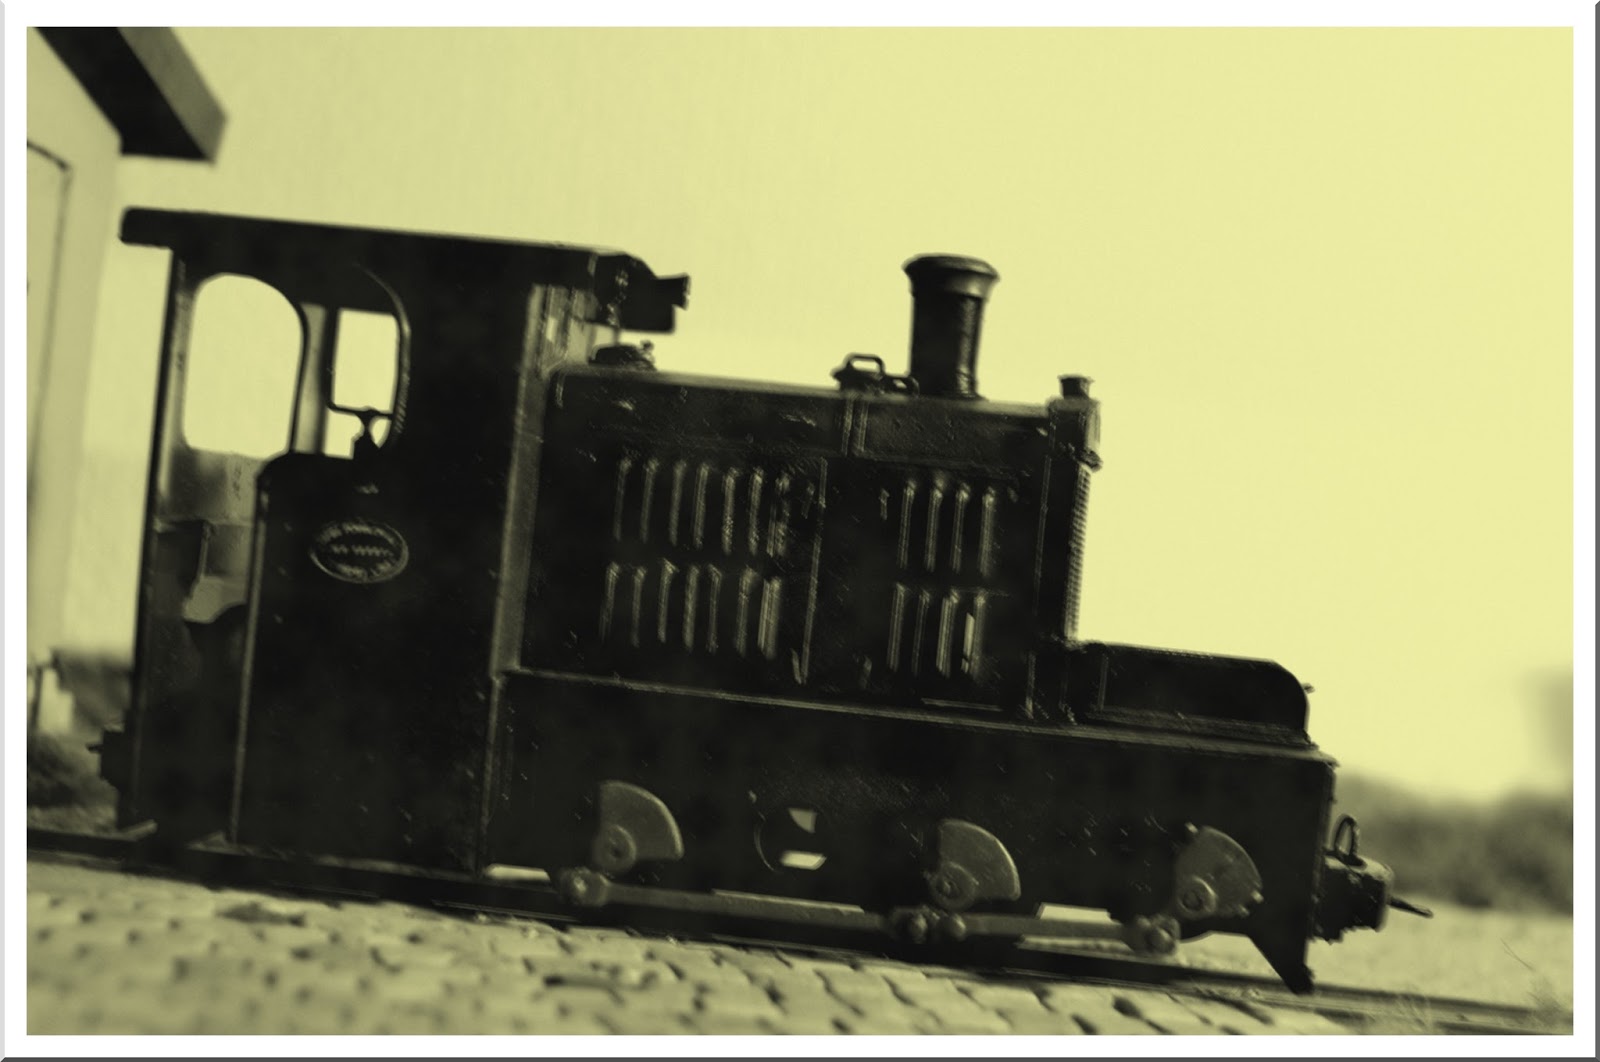
The Fowler also ventured out on the track panels. My foam board factory building has been exchanged with a laser cut MDF structure. More on that later.
I'll probably keep testing the track a little longer before I start to paint and weather rails and sleepers. New parts for the bakelite factory arrived last week and I have been planning how to equip it with lights and a partial interior.

Friday, 19 February 2016

A Lorry Load (1/35)

Between other projects I recently finished a load for a lorry. Having used a number of Scale Link skips for either flat wagons or bogies I had some of the kits' resin skip bodies surplus to requirements. 

Four Scale Link skip bodies. I used six to build a lorry load of spares on its way to a industrial railway.

To make some of them useful, I cleaned the bodies, glued them three on top of each other and gave them a spray with black primer. In each of the two stacks I painted one body dark grey to create a little variety. The skip bodies then received a wash with diluted oil paint 'burned umber'. The two stacks of skip bodies were mounted with glue on a simple frame of wooden profiles. EZ-line were used to represent the rope holding the bodies in place. The end brackets for the skip bodies were glued into a wooden crate. Any type of crate would do, but I picked one from an old Tamiya kit. I added only two pieces of thread for rope handles. The brackets would be mounted when assembling the skips after arrival.
 
Painted skip bodies, wooden frame and roll of EZ-line. In the background my assembly of a 1:35 Volkswagen 82E kit is progressing.
Here is the result of an hour's work: A load for a lorry. All from left over parts. An easy way of making a load for a lorry - or a standard gauge wagon in Gauge 1.

Friday, 5 February 2016

Building Bankes Bakelit (1/35)

Last March I started planning Bankes Bakelit, the small bakelite factory just north of Nystrup Gravel's 600 mm. track. The factory has now progressed from a card board mock up to a proper structure of foam board. I adjusted the size of the building slightly as there was room for a little larger foot print on the module. As I wasn't aiming for a scale model of the factory building, I just enlarged the building as much as space allowed while keeping the proportions. The building now makes a more prominent presence. I didn't want trains to dwarf the building - rather the opposite.
Test assembly held together with pins from my latest shirt purchase.
The building is made from a double layer of 6 mm. foam board. Window openings in the inner foam board layer are a little larger than in the outer layer. In that way I hope to fit windows in a realistic depth in the wall. I still haven't found any suitable window frames to fit in the holes and I suspect I will not. I will probably have to build the window frames from plastic profiles.
Windows cut out, double walls fitted and all parts glued.
Floor fitted - still unglued.
Interior floor and dividers have been built to allow for lighting and a little interior detailing. With floors the building don't need bracing.

Thursday, 4 February 2016

Narrow Gauge and Snow

In Denmark we've had almost three weeks with snow on the ground in January. Several trains have been run in the snow covered landscape. A train of skips went to pick up a load of small stones for a project in HVB's large shed at the Hedehusgaard station. Not too often one gets to take a train of skips through a snow covered landscape in Denmark.

On our way to Brandhøj station to pick up a load of small stones. We are pushing the skips - here on a piece of the line that had new sleepers fitted in the autumn.
Stone loading in progress. One of the younger members has become quite good with the excavator. M 12 was built in Denmark in 1943 and is still going strong.
Skips filled, we make our way back - here going down hill from Sølund station. 

In the head shunt ready to take the stone load into the shed. The setting sun is barely visible above the last skip.
Not all locos have stood the test of Danish weather too well. Here is what happens when you leave a steam loco in a park for more than 30 years. This engine is now going into storage. The train is moving slowly pulled by M 12 which has the lowest gearing while M 24 provides braking. Photo: Peter Hansen.
A lot of stuff had to be moved to allow steam loco No 3 to be positioned in the rear of the shed. Four diesel locos and an excavator was running when I took the photo. 
Running narrow gauge trains in full scale surely gives you a better sense of the practical workings of the prototype for your model railway. If you have a heritage railway in your vicinity consider volunteering and take part in the work there. You will no doubt be welcomed and you will ‘cash in’ on three ‘key performance indicators’: help run a real railway, pick up good ideas for your model railway and enjoy the good company of fellow railway men and women (probably mostly men…).

Monday, 1 February 2016

Kit Frustrations (1/35)

Last summer I had endless trouble getting a kit bash of a lorry together. In the end I succeeded. I'm in a similar situation now with the MMK kit of a Bedford O. With vague or non-existent location points for the cab, front mud guards and bonnet I have decided to give the kit a break. Together with the instructions everything has been wrapped in tissue paper and stuffed in a card board box. I seldom pack a kit up like this once I have started, but this one had to go back on the shelf to mature. Hopefully things will go much better when we meet again!


As far as I got with the MMK Bedford O. The tipper in the back ground from Roadcraft Models was an easier kit to assemble. I'm confident that the lorry will end up a nice model. I'm not easily defeated!
I have no shortage of other models to build. After a little clearing out and book managing I'll be getting on with track laying on a module.

Sunday, 10 January 2016

A 1:35 Fowler Model (1/35)

In 2015 my research documented that Nystrup Gravel took delivery of a Fowler diesel loco in 1934. Now I'm in possession of a model of that particular little Fowler on my 1:35 model of the gravel line. It is great to dig up the history of the gravel company's railway and almost simultaneously be able to develop my own 1:35 scale version of it.

While I enjoy building models, I haven't all the time in the world to build nor the talent for every task. Nystrup's 1:35 Fowler has thus been built in a work shop in Australia and flown half way around the planet to Denmark. The model is built from an etch developed, prepared and produced in Australia by Brian Millar and the model was also assembled and painted by Brian - himself a professional narrow gauge loco driver. Members of the narrow gauge yahoo-group FS32NG and the Narrow Gauge Railway Modelling forum have been able to see images of the loco during its construction.
My new model of Nystrup's Fowler posing behind the coal baskets.

The model is fitted with micro ball race bearings on both wheel and jack shaft axles. The front mounted gearbox is a Slater FD01 3:1 and it drives the two axles through the side rods. The motor is a 12 mm. x 10 mm. gear head motor. Each axle box is fully sprung using springs from disposable cigarette lighters. An ingenious use of a product never before (to my knowledge, at least) made useful for railway modelling!

One of the workers from the gravel company has brought his daughter to see the new British locomotive.

The full scale Fowler at Nystrup was originally meant for a customer in the tropics using Imperial measurements. Archive photos from Australia reinforce the assumption that the Fowler from Nystrup Gravel was originally intended for an Australian sugar mill, where almost identical locos worked. That my model also has a firm connection to that great far-away country is only fitting.

"Will such a heavy locomotive ever work on our narrow tracks?"

I have only test run the loco on direct AC and will in the coming months be touching up some worn paint, fitting a decoder and do some minor adjustments as advised by the builder. I will also fit some of the modifications added by Nystrup Gravel. Numbering will of course also be added according to Nystrup Gravel practise.
Ready for challenging tasks on Nystrup Gravel.

Friday, 8 January 2016

News From the Archives

Hard work on e-mail and telephone finally produced a blurry image of Nystrup Gravel's Fowler locomotive. Following a lead from a lorry interested friend I contacted a local historical archive on the Danish island of Fyn. In the collection of a late heavy lorry driver I finally found a photograph of the Fowler. Not a good one. But so far the only available one.

The Fowler outside the loco shed at Nystrup. Probably a photograph from the mid 1930's before the loco received its number - 11. Photo: Beldringe Local Historical Society.