Saturday, 24 October 2015

Marking Module Legs (1/35)

Last time I had my modules set up I got the legs mixed up during assembly. As I have built all legs and some of the modules myself they are not perfectly identical. In other words: Not all legs will fit under every module. As a consequence of my limited precision wood working abilities I have now marked all sets of legs to clearly indicate where they fit.
The risk of grabbing the wrong set of legs for a module should now be seriously diminished. From back to front the Danish words means: tree, bridge and Banke's (as in Banke's Bakelite).

I expect my next 'setting up session' will take less time with the legs marked. 

Friday, 23 October 2015

Updated: Placing Buildings now with original documentation

My post on construction profiles from June has been updated with an original document from Maribo sugar factory. The document shows how little clearance a particular steam loco had in relation to buildings and telegraph poles along the line. The document can also be viewed below:

Scan of the document from Maribo sugar factory with notes of distances from the new loco to stationary objects near the track. The document mentions a farm building on the Bukkehave-Nebbelunde line where the remark in brackets says (translated to English): "The windows must be closed when passing."

Wednesday, 21 October 2015

Alpha Driver Figure (1/35)

In my last post you probably noticed a somewhat cut down figure among the two fitted with a full set of limbs. The image used by Frederikshavn Jernstøberi in an advertisement for the Alpha E 10 had inspired me to fit my 1:35 scale version of the loco with a similar driver figure. In a box I had a MK35 kit (F072) of a suitable subject for conversion. I wanted to show a bit more of the driver, so I placed him square in the door opening.

Fitting the driver in the cab wasn't easy. There is very little room for a figure because of the way I designed the loco's upper body to make it removable. The interior takes up a lot of space, too. Consequently the figure had to have its legs cut off above the knees and the top of the hat sanded off to fit in. I donated a new left arm to the figure from the spares box. Other than that he received nothing but my usual average attempt at a paint job.
The rebuilt MK35-figure fitted in the cab. The loco is progressing but I have been temporarily stopped because I used up my supply of appropriate plastic strip.

Friday, 16 October 2015

Figuring it out (1/35)

Perhaps the greatest challenge for me in 1:35 scale is the figures. They are large enough to be models in their own right. Anyone with ten minutes to spare can assure them self of that by visiting a military modelling web site like Missing Lynx. The miniature figure work there is not any good for my modelling ego...

15-10 years ago you had to convert military figures in 1:35 if you wanted more than two or three civilian figures on your layout. Today you have a good supply of civilian figures of excellent quality. Even considering that I prefer figures in static poses I still have a large selection to choose from.
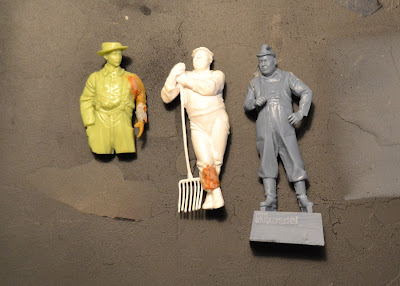
Unpainted figures assembled, but still undergoing modifications. The white Preiser figure photographs a lot worse than the two others. I received the Preiser figure as a part of a set of 5 from a friend. The detailing is not as good as the two other figures, but you get five Preisers for the price of 1½ MK35's.

This week I have been relaxing building a few figures. All three of them part of the gravel company work force - one of them slightly amputated to fit my Alpha E 10 loco. The loco driver (from French MK35) had his legs chopped off and his left arm replaced by a spare part. The relaxed worker (from German Preiser) had his leg remodelled with Miliput. The grey figure (from SKP Models) has featured in this blog before and was assembled as per the instructions.
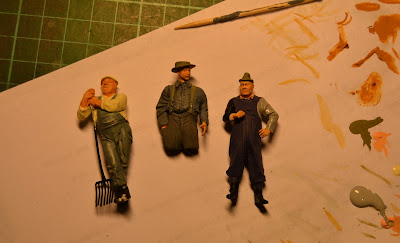
A snap shot of the figures during painting. The white paper acts as a palette for my paints. I used acrylic paints from Vallejo and topped up with some very light washes of oil paint.

Almost done. I still need to paint the rubber boots a green colour. I haven't attempted to paint any facial details. Instead I used different hues of paint to highlight parts of the face and hands combined with a very restrained wash of heavily diluted burned sienna oil paint. I marked the eyes with a tiny line of black oil paint.

The slightly chubby relaxed worker from Preiser beginning to look finished. Shoes still needs paint. As the facial details are not as sharply defined as on the SKP Models-figure it is much harder to paint properly. There are no crevices for the thinned oil paint to flow into. Despite the soft detail nevertheless a charming figure that looks suitably different from most of my figures that have a surprisingly 'fit' look to them.
You have probably seen much better painted model figures (and I'm not sure these two are among my best results) but this blog isn't written to make me look a better modeller than I am. Perhaps my figure painting will have improved with a few more years of practice. I'll then be able to link to this post and show my progress.


Monday, 5 October 2015

A Visit From Down Under (1/35)

Most Europeans my age know the song 'I come from a land Down Under' by Men at Work. Australia has always held a special place in my heart. Why is a long story and completely irrelevant to model railways (and not being the least royalist it has absolutely nothing to do with Denmark's crown princess being of Australian origin). Late last year I had an e-mail from a fellow railway modeller in Australia asking if he could come visit Nystrup Gravel - "of course" was my answer - and my self confidence as a modeller jumped a point or two higher on the scale.

Having moved house not long ago and having had to spend time on a lot of the follow up work that entails, I hadn't had my modules set up for running in the new house. It turned out that my garden shed could easily accommodate Nystrup Gravel in its current form - without fiddle yard at least. 
Nystrup Gravel's four modules set up in my garden shed. On the left is the factory building of Bankes Bakelit still in white foam board.
The visit was as relaxing and informal as expected. Although informal there was an exchange of gifts as I was fortunate to receive a semi-built Hesketh & Snoodyk fuel pump on a skip chassis and an issue of 'Narrow Gauge Down Under'. In return I offered cold beer from a Danish micro brewery.
Here is a finished fuel bowser 'harvested' from the web site of Hesketh Scale Models. I plan to build mine just a little differently. I can't resist making small changes to a kit.

Much too soon the time set aside for the visit had expired and we had to say good bye. Hopefully my Australian friend is now home again on the other side of the planet.

Wednesday, 16 September 2015

Frame Detail on Alpha-loco (1/35)

The frame on my Alpha-loco is now fitted with axle boxes, frame ends and couplings. Everything is made from plastic card and profiles. I'm struggling a bit with the many types of materials in the frame of the loco - choosing the right type of glue seems to be critical. I will be fitting a backing piece to each axle box to 'beef' them up (they seem to be lacking depth) which will also help to keep them more safely attached to the frame.

End plates and axle boxes during construction. I used Tichy Train bolt heads on the axle boxes.

Test 'running' past the loco shed. Apart from thickening the axle boxes I will have to work a bit more to get the loco's frame adjusted to level. Surely I can work a bit with the lights over my modules too...
The images and drawings I have of locos from Frederikshavn Jernstøberi show very primitive couplings not unlike those on a skip. I wanted to have something a bit more sturdy and have fitted my model with a homemade design. Possibly the original coupling was too weak and was replaced by the gravel company? I will paint the end plates/couplings a contrasting colour to the black frame to high light them as a later addition.

Sunday, 6 September 2015

Trailer from Solvang Construction (1/35)

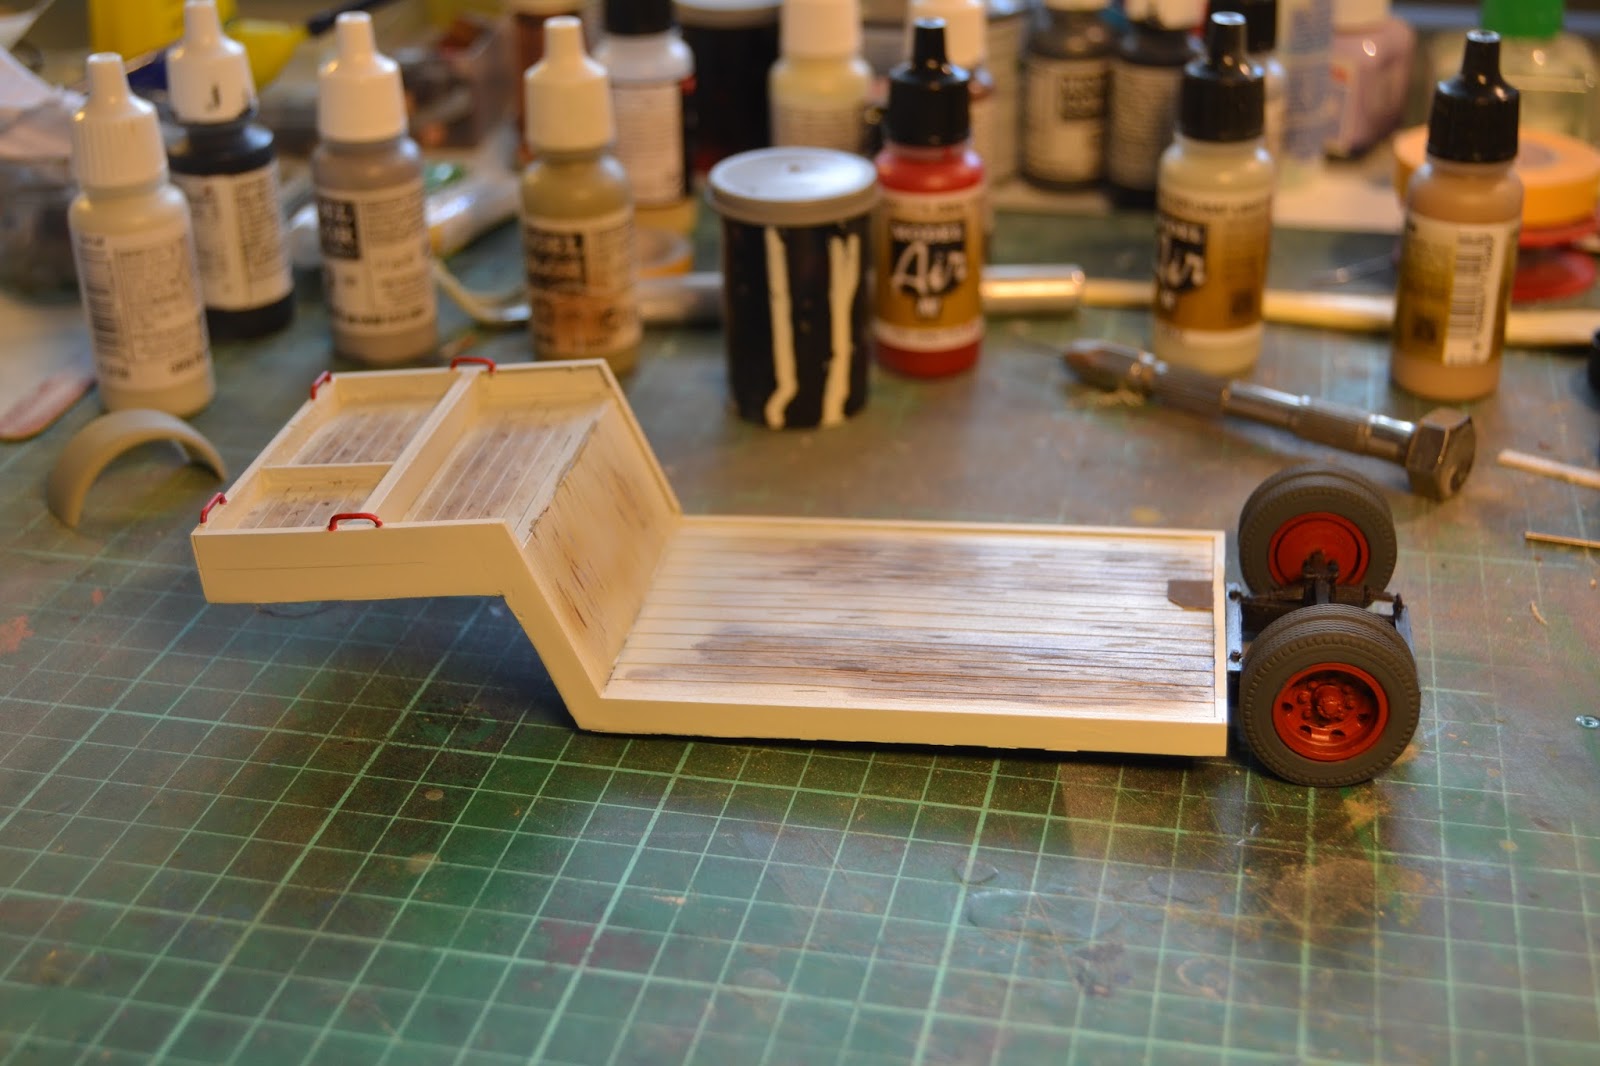
The trailer from 'Solvang Entreprenørforretning' (Solvang Construction) is almost finished. It still lacks the final weathering, which will only be applied when I unite the trailer with the Bedford O. Both kits are from MMK-models.

I added hand rails from brass wire and a wooden board to divide the tool holding area over the saddle from a piece of plastic card. The black spot at the rear is a plastic repair of a damage I made while distressing the boards with a steel brush. The resin was ultra thin at the spot and didn't stand up to my rough treatment.
Trailer primed. I still need to fit mud guards to the trailer's wheels. To ease the painting of the tires I will only fit the mud guards after the tires are painted. The cab is finished and primed, but other than that not much progress on the Bedford.
Trailer painted and weathering of the load area in progress. The paint is Vallejo 'Silver Grey'.

I will not portray the trailer as a worn out vehicle, but the load area of trailers take a serious pounding and paint has a hard job clinging to the timber floor. First I scratched the floor with the tip of a scalpel and followed up with a wire brush. After a coat of grey paint I worked the worn areas with oil paint in several colours and added scratches with different grey and light brown acrylics.

The trailer mud guards had some flimsy resin parts to hold them attached to the axle. I made my own replacements from brass profiles. They can be seen in front of the decal'ed trailer together with a heap of stuff to be added to the trailer.
Mud guards fitted to the trailer. Track panels ready for the transport of a loco. The specially designed decals are from my usual supplier - 'Skilteskoven' (Forest of Signs) from Odense, the birth town of H.C.Andersen.