As gravel was in high demand during the German occupation of Denmark for construction of German bunkers and airfields, Nystrup Gravel worked hard to supply the sought after gravel (too hard some thought). As very little diesel and hardly any gasoline was available several locomotives were fitted with gas generators. Interested in a reliable supply of gravel, the German authorities at the nearby airfield even stationed a gas generator locomotive on the line. The locomotive arrived during the summer of 1944 bearing the markings of a Wilhelmshafen based contractor, Wilhelm Müller. After the war a long quarrel over ownership ensued while the loco kept working on Nystrup Gravel's railway.
 |
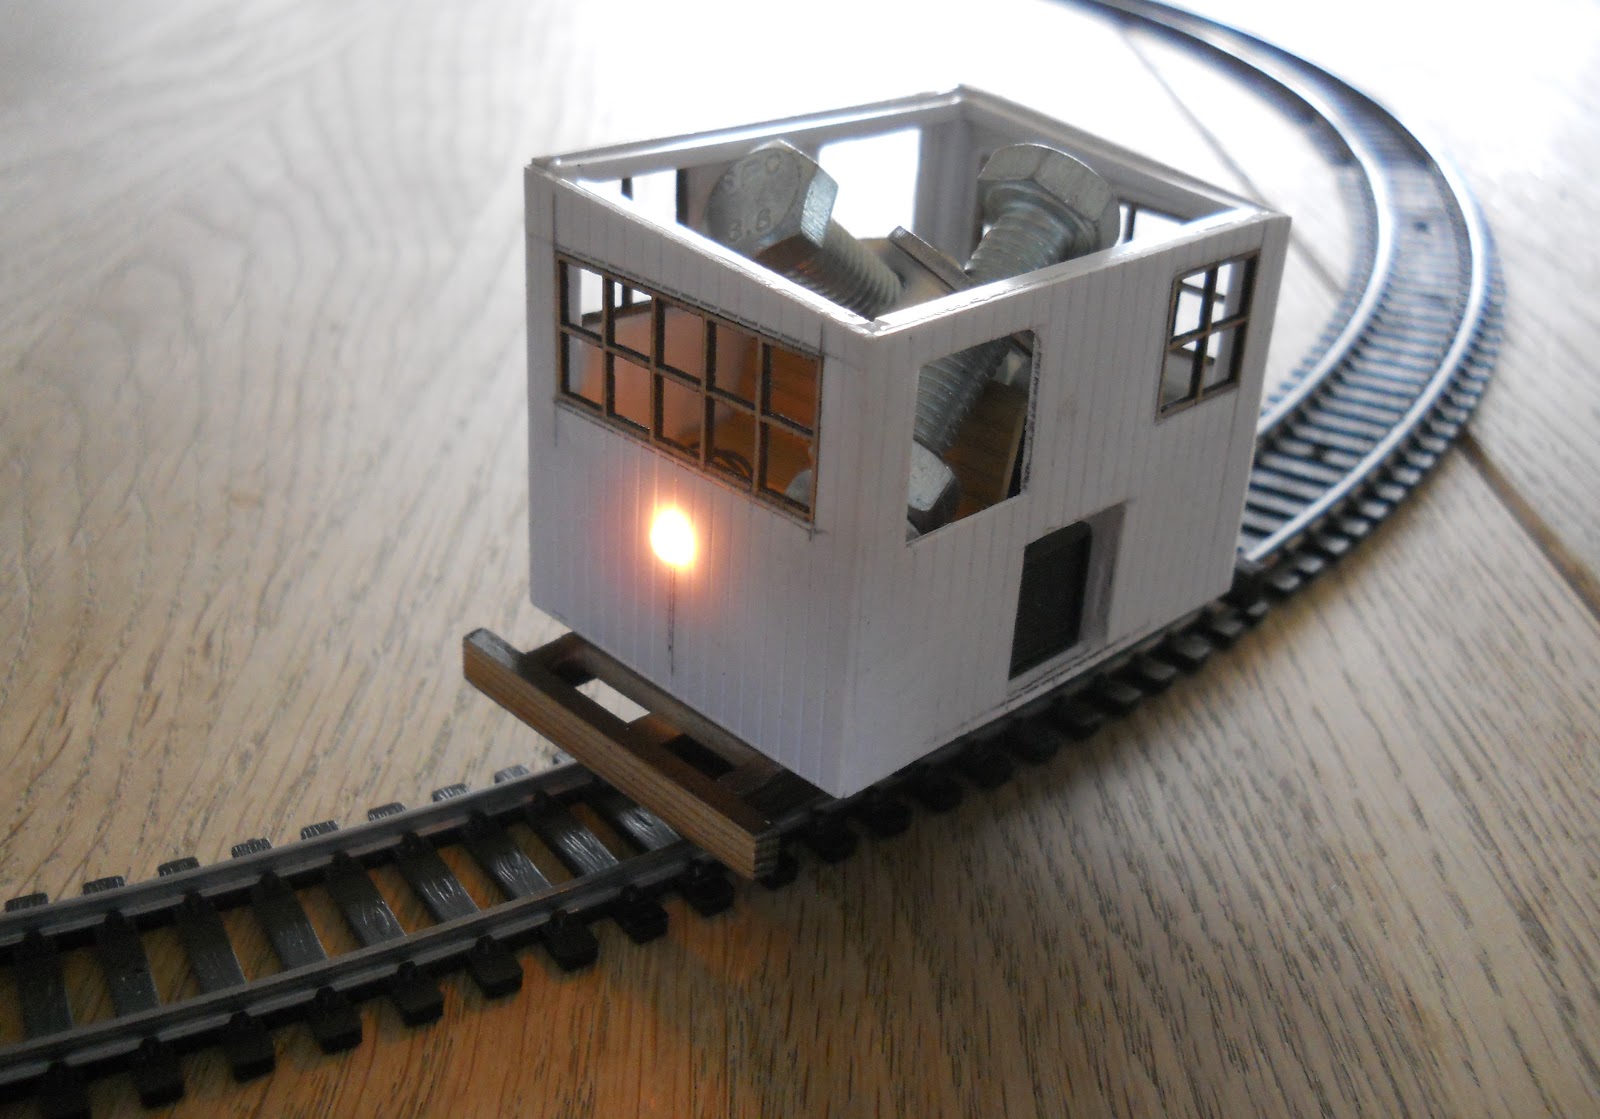
| Loco no. 78 pushing skips to the pits. Not a bad model considering that it comes practically right out of printer. I only added surface treatment, minor details, paint, decals and the Beckert Modellbau-plates. I'm sure this is not my last printed model. |
After
fitting metal handles and a floor I gave the loco a thorough wash before it received a thin layer of new primer. The cab interior was painted light grey (I used Vallejo Model Air 71121 USAF light grey) and weathered with thinned oil paints (black and burnt umber). The windows were made from clear plastic card. I use Kristal Klear to glue windows as it dries completely clear and shiny and gives a good, strong bond. After the cab was painted and given a quick spray of matt varnish I glued the floor in place.
I fitted the ESU decoder on the gear box end of the BullAnt with double sided tape. In that way I have a self contained drive unit that simply bolts in place with two M2 bolts. (You may remember that I ran out of M2 nuts while building the bogie flats. After having ordered a new supply from Germany one of my friends from HVB presented me with a good selection of M2 nuts and bolts. It will last a long time before I run out of M2!).
 |
| BullAnt with ESU-decoder. After a test fit to the loco body I had to relocate the decoder on the gearbox end of the BullAnt. I buy decoders in my local hobby shop - Taastrup Togkælder. Other than decoders I don't shop a lot of 'main stream' model railway stuff, so I'm probably not a customer they'll ever miss. Behind the BullAnt is my old 25W Antex soldering iron given to me by my mom and dad in the early eighties when they made me switch from building far too many plastic tanks to running trains. And yes: The handle on the iron is bakelite! I only pull out the small 25V iron when I solder decoders. |
I used Vallejo 'USAF Dark Grey' (number 71.123) to paint the loco. I had been looking at the loco with black primer so long, that I thought it a shame to go over board in an orgie of colours (well, red, green and black). So dark grey it is.
 |
| Loco body painted dark grey. Where the decals will go I have applied a layer of gloss varnish. To the right are my two 'masking sticks'. Tired of hard to remove Maskol and sticky masking tape I have simply cut two plastic sheet rectangles that push-fit in the window openings. Mounted on sticks from plastic kit sprue to ease handling, they have performed very well. |
The name of the German contractor came custom made from
'Skilteskoven' while the numbering was adapted from an old Tamiya decal sheet. The lovely etched plates I had acquired from Germany was impossible to locate on my shelves, even if I pride myself of having complete control of where I keep what. I ordered new plates from
Beckert Modellbau. Reluctantly, though, as I expect to find the lost plates any day now that I have received new ones...
 |
| Decals in place. The black lump is filling for the fuel box and the small plastic pieces will end up as fire wood. |
The loco had a generous supply of fuel poured into the fuel box. I decided not to use real wood, as I suspected real wood to look unrealistic when chopped into the tiny blocks needed in the gas generator. I used small pieces of plastic profile painted in several light greys and faint yellows. According to a hand book on gas generator driving the wood blocks should be 2x2x3 mm in 1:35, so I chopped up a square strip from Evergreen.
 |
| Fuel box filled and the fire wood has been given a coat of paint. Weathering has begun. |
The gas generator was weathered rather heavily as the heat generated had a strong effect on the paint. I used several tones of grey. I applied the greys with paints and powders. I also tried to add some ash residue from the cleaning process, repeated at least once a week on a gas generator. Several colours of oil paints were used for weathering. I even tried using a very light green around some of the pipes from the gas cooler to resemble oxidation of copper packings.
 |
| An illustration of how a gas generator works. For non-German speakers you can follow the gas from the generator on the left through the different cleaning filters and cooler to the engine's piston on the far right. |
 |
| The KML 5 type was basically a O&K MD2 with lengthened frames (to take gas generator and wood fuel). It was the only narrow gauge internal combustion loco allowed to be built according to the 'Bauverbot für Motorlokomotiven' implemented in 1942 by the German authorities. Here seen in Nystrup outside Bankes Bakelit. |
 |
| A wartime image of the Schöma locomotive working on the Nystrup Gravel line. Even today it is shrouded in mystery if the loco was owned by the German contractor Müller and on loan to Nystrup Gravel or if the loco was in fact the property of the gravel company. |