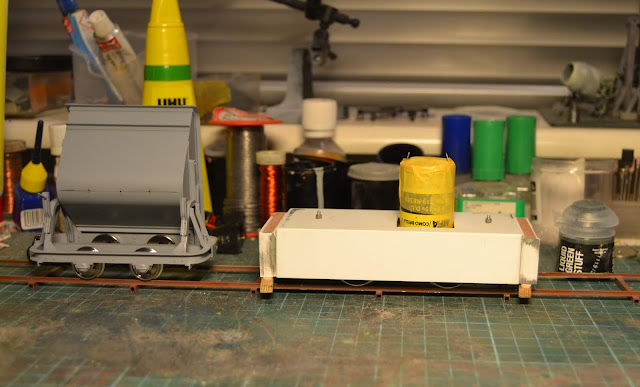
Having reorganised my library and modelling room, I have gained enough space to model a small segment of Nystrup Gravel's facilities in Nystrup in 1/19 scale. Before I begin cutting wood and building, I'm simply playing trains on my empty shelves with some Peco track panels. This allows me to test ideas and the mechanical properties of track in 1/19 scale.
Warning: This post later develops into what could be considered 'rivet counting'.
 |
| Two skips parked on a length of Peco 'SM32' SL-600-track. The height of the rail and the heavy rail fixings are obvious. |
In comparison with my scratchbuilt track panel with light (Code 100) rail the Peco SL-600 flex track with its Code 200 rail is of a much more sturdy impression. As the track is designed for outdoor as well as indoor use it's hardly a surprise.
 |
| In this close up af a rail joint, the high rail head is visible. The Peco fishplate is only gripping the feet of the rails. |
 |
| Compared to a real Vignoles rail profile, the Peco Code 200 rail has a rail head far too large and square and a foot lacking in size. It looks a lot more like a Bullhead profile rather than a Vignoles profile. |
While sturdiness is probably a fine thing there are a few things about the Peco track that I'm less fond of:
- First the rail is of a heavy profile not reminiscent of the majority of the rail used at Nystrup Gravel. The rail height is 5 mm matching a 22 kg/m rail in 1/1. It's a bit too substantial for Nystrup Gravel. Painting and weathering may help to disguise that.
- Second, the rail is of a weird profile not matching a typical Vignoles profile. While you can't see the profile clearly the way I plan to install the track, the very high head of the profile is obvious also when seen from the side.
- In addition the type of rail fixing is different to what was usually used on Danish industrial railways. I could perhaps change that, either by 'sinking' the track in ballast or by exchanging sleepers and fixings.
The Peco track is working like it should. The rail fixings are solid and the rail flexes comparatively easy considering its dimensions. I have been cutting rails with my standard angle grinder and a cutting disc. Cleaning up was done with usual modelling files. The supplied Peco rail joiners fits like a glove and hold the rail segments well. The points work well and the spring loaded mechanism holds the tounge rail in the right position. In other words: There is nothing functionally wrong with the Peco track. It's the looks I'm unsure of.
 |
| Peco track panel from above. |
Knowing that I run the risk of getting dissatisfied if I install the Peco track without having tried something else, the hunt is now on for some rail profiles of a smaller size and some rail spikes. Having built track in 1:35, in real life in 700 mm gauge and working for a railway contractor, I do tend to like track that's looking good prototypically.


